
Ai Content Generator
Ai Picture
Tell Your Story

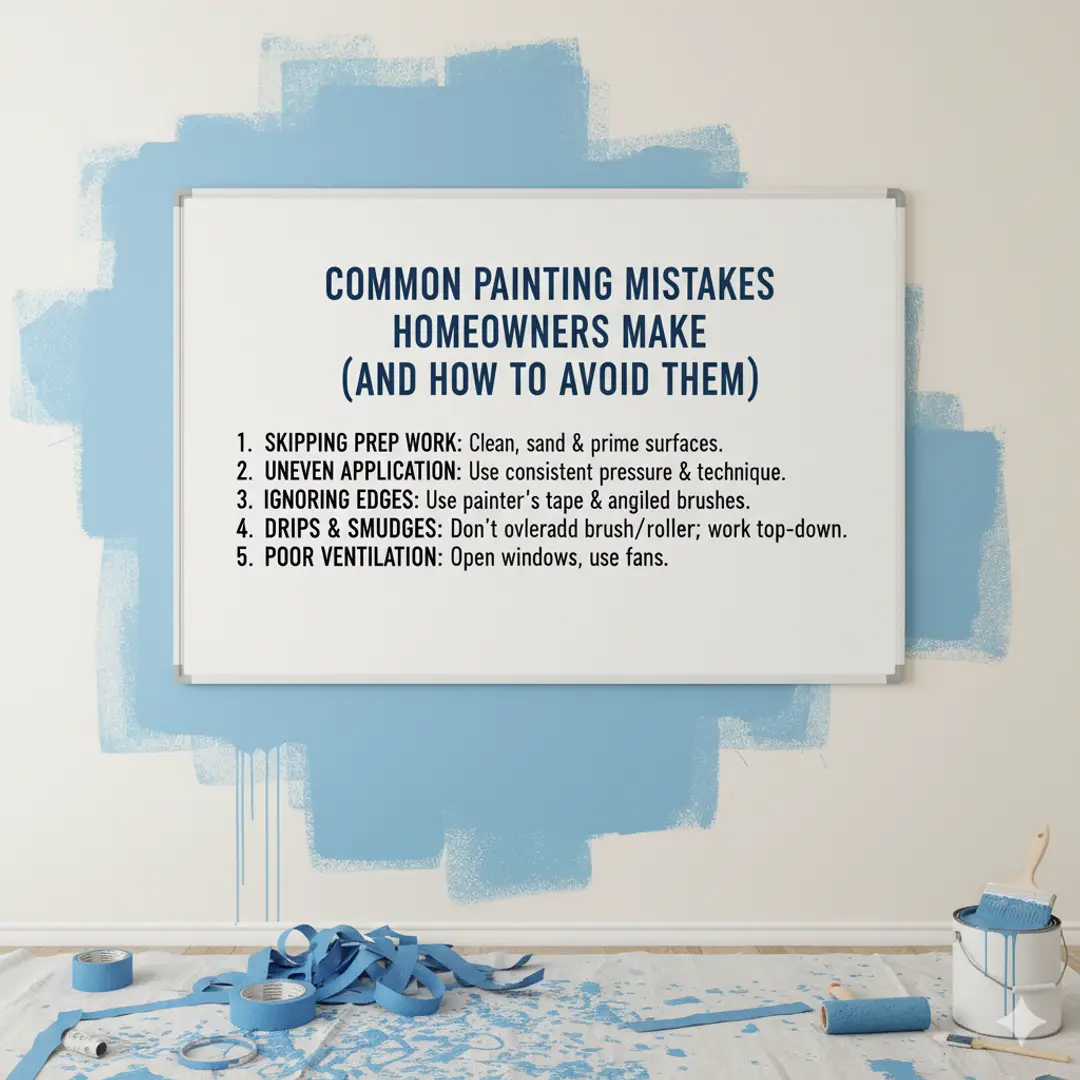
Common Painting Mistakes Homeowners Make (and How to Avoid Them)
Painting a room seems simple enough—pick a color, grab a brush, and start rolling. But once you begin, you quickly realize there’s a lot more to it. Many homeowners underestimate how much preparation and technique go into achieving that perfect, smooth finish. Whether you’re freshening up a living room or taking on an entire home makeover, understanding what not to do can save you from frustration, wasted money, and disappointing results.
If you’re planning a paint project soon, learning from others’ mistakes can help you get professional-quality results. And if you’d rather skip the mess entirely, hiring the Best residential painting services in the USA can ensure your walls look flawless from day one.
- Skipping the Prep Work
- One of the biggest mistakes homeowners make is jumping straight into painting without proper preparation. The paint might look fine at first, but poor prep work always shows later.
- Here’s what skipping prep can lead to:
- Peeling or cracking paint
Uneven finishes
Stains bleeding through
Paint not adhering properly
Before you open the paint can, take time to clean the walls. Dust, grease, and residue can ruin the finish. Use mild soap and water, and let the surface dry completely. Then, fill any holes or cracks with spackle and sand them smooth. Finally, use painter’s tape to protect trim and edges. It may feel tedious, but this step separates a beginner’s job from a professional one.
2. Ignoring Primer
Primer isn’t just for covering up old colors—it helps the new paint stick better and last longer. Many homeowners skip this step, especially when painting over a light color. That’s a costly shortcut.
Why primer matters:
It blocks stains and discoloration.
It creates a smooth surface for paint.
It helps you achieve the true color of your paint.
It reduces the number of coats needed.
If you’re covering dark paint or painting new drywall, primer is non-negotiable. For glossy surfaces, use a bonding primer to help the paint adhere properly. Think of primer as the foundation for a lasting, vibrant finish.
3. Using Cheap Tools
A common mistake is trying to save money with inexpensive brushes and rollers. Cheap tools shed bristles, leave streaks, and make it harder to apply paint evenly.
Invest in quality tools because they:
Hold paint better
Provide smoother application
Last longer
Save time during cleanup
If you’re painting walls, use a high-quality roller with the right nap for your surface. For trim or edges, use a good angled brush for cleaner lines. The difference will show immediately.
4. Choosing the Wrong Paint Finish
Paint finish affects how your color looks and how easy it is to maintain. Many homeowners choose based on color alone, not realizing that sheen can completely change the final result.
Common finishes include:
Flat/Matte: Hides imperfections but is harder to clean. Great for ceilings or low-traffic rooms.
Eggshell/Satin: Slightly reflective and easier to clean. Ideal for living rooms and bedrooms.
Semi-Gloss/Gloss: Reflective and durable. Best for kitchens, bathrooms, and trim.
Take into account lighting, room usage, and wall condition before choosing a finish. A thoughtful choice can keep your paint job looking fresh for years.
5. Not Testing the Color First
Paint looks different on a wall than it does on a sample card. Lighting, room size, and wall texture can all affect how a color appears. Many homeowners regret their choice after painting an entire room.
Avoid this by testing first:
Paint small swatches on different walls.
Observe them at different times of day.
Check under natural and artificial light.
What looks perfect in the store might appear too dark or too dull at home. A simple test can save you from repainting later.
6. Overloading the Brush or Roller
When you dip too much paint onto your brush or roller, you end up with drips, uneven coverage, and longer drying times. Instead, dip only one-third of your brush into the paint and tap off the excess.
With rollers, roll off extra paint on the tray before applying to the wall. Use light, even pressure and overlap your strokes slightly. This gives a consistent finish without marks or ridges.
Patience here pays off—several thin coats look far better than one thick coat.
7. Painting in the Wrong Conditions
Temperature and humidity matter more than you might think. Painting when it’s too hot, cold, or humid can cause paint to dry unevenly or peel later.
Ideal conditions:
Temperature between 50°F and 85°F
Low humidity
Good ventilation
If you’re painting indoors, open windows or use fans to keep air circulating. Outdoors, avoid painting on windy or rainy days. Always check the weather forecast before starting a big job.
8. Rushing Between Coats
Most paint cans list drying times, but many homeowners ignore them. Applying a second coat too soon traps moisture underneath, leading to bubbling or peeling.
Always follow the manufacturer’s instructions. Let each coat dry fully before adding another. It’s tempting to speed things up, but proper drying ensures durability and a smooth surface.
9. Forgetting to Protect Surrounding Areas
Paint has a sneaky way of getting where it shouldn’t. Skipping drop cloths or tape can lead to accidental splatters on floors, furniture, or trim.
Use drop cloths or plastic sheets to cover everything nearby. Remove switch plates and outlet covers instead of taping around them. It’s easier to prevent mistakes than to clean them up later.
10. Not Maintaining Painted Surfaces
Even the best paint job needs some care to stay looking new. Dust, fingerprints, and stains can dull your finish over time.
To maintain painted walls:
Wipe gently with a damp cloth or sponge.
Avoid harsh chemicals.
Touch up chips or scratches promptly.
Taking a few minutes every few months keeps your paint fresh and prevents bigger issues.
Common FAQs About Home Painting
- How long should I wait before painting over fresh drywall?
- You should always apply a drywall primer first and allow it to dry fully before adding color. Usually, you can paint within 24 hours after priming.
- How can I make my paint last longer?
- Use high-quality paint, prep surfaces well, and clean walls regularly. Keep humidity under control to prevent peeling.
- Is it okay to paint without sanding?
- If the surface is glossy or uneven, sanding is necessary for adhesion. Skipping it can cause paint to peel.
- What’s the best way to store leftover paint?
- Seal the can tightly, label it with the color and date, and store it in a cool, dry place away from sunlight.
- Can I paint over oil-based paint with latex?
- Yes, but only after sanding lightly and using a bonding primer designed for that purpose.
Bringing It All Together
Painting your home doesn’t have to be stressful. By avoiding these common mistakes, you can enjoy a professional-looking finish that lasts for years. Preparation, patience, and the right tools make all the difference.
Still, if you’re short on time or want flawless results, consider hiring professionals who know every trick of the trade. The best commercial painting services in the USA can handle everything from prep to cleanup, saving you time and ensuring a stunning, long-lasting result.
Painting is one of the simplest ways to transform your home—when it’s done right. Take your time, follow the right steps, and you’ll love the way your space looks and feels.
Related Posts
© 2025 Invastor. All Rights Reserved
User Comments