
Ai Content Generator
Ai Picture
Tell Your Story

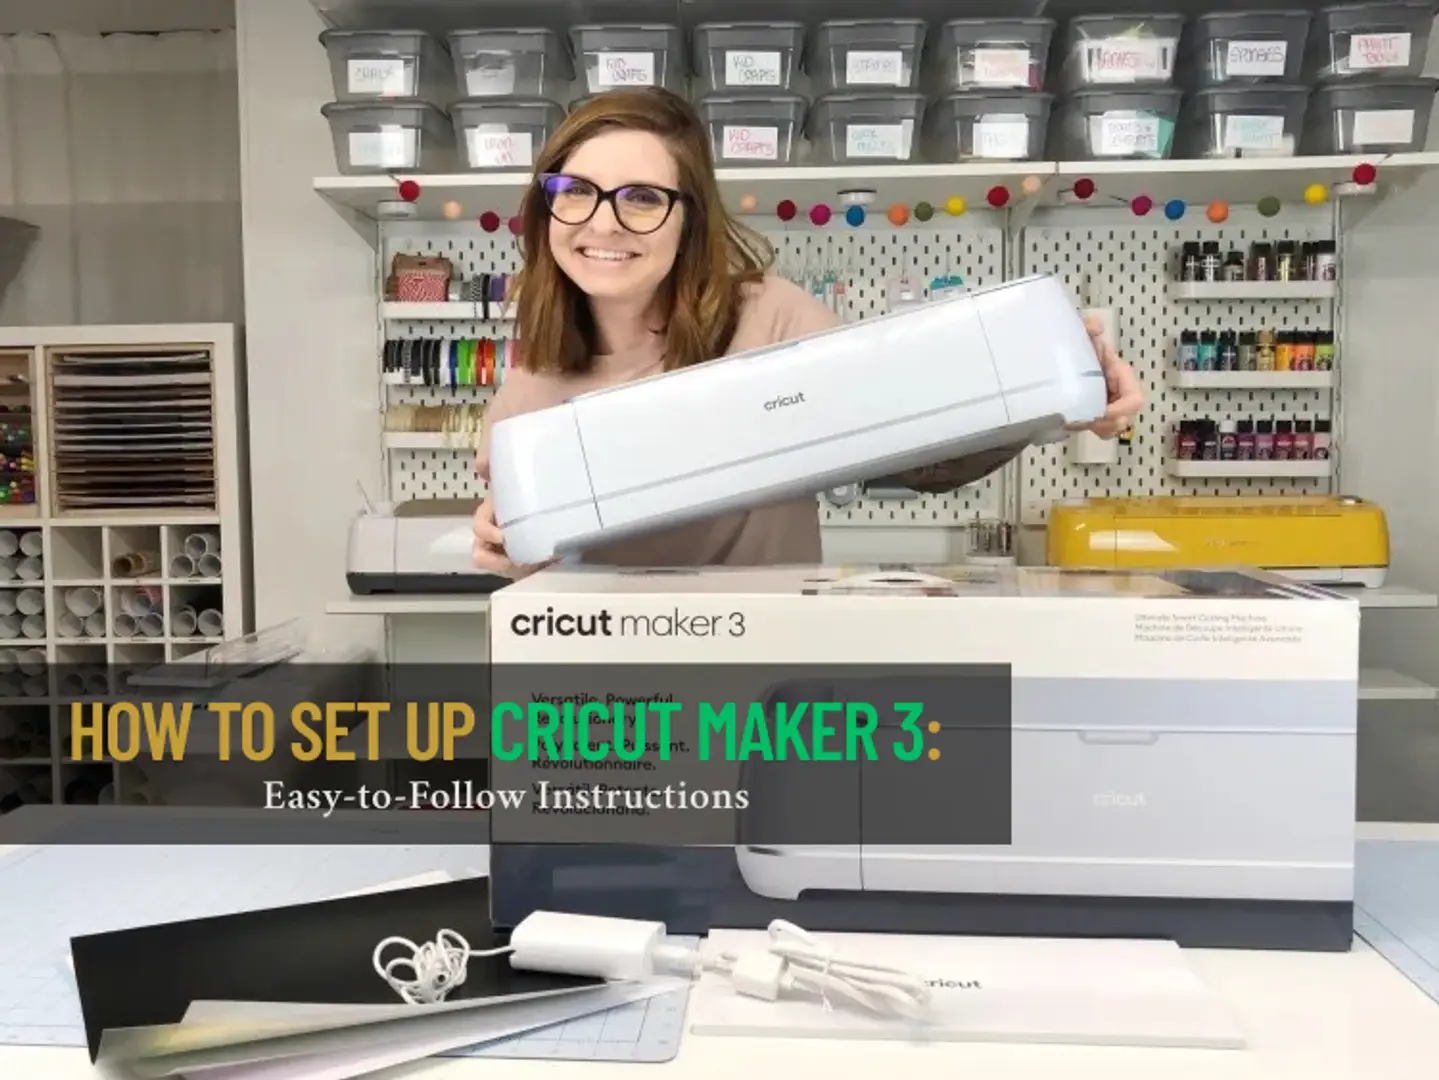
How to Set Up Cricut Maker 3: Easy-to-Follow Instructions
A few weeks ago, one of my friends unboxed Cricut Maker 3 for the very first time. He was impressed by the cutting machine’s sleek design and super excited about the endless creative opportunities ahead. But a common question was puzzling him—“Where should I start from?”
He decided to turn to an expert, so he called me, and I went to his place and helped him. With my expertise and guidance, he learned everything from how to plug in the machine to how to create his very first project. My pro tips and know-how really helped, he said. Setting up Maker 3 was like a fun challenge, as I have already worked on many similar machines.
Now, it may be your turn. If you recently bought Maker 3 and want to know how to get started, I can assist. The initial step is to set up, so we’ll talk about “how to set up Cricut Maker 3” in this guide. Let me first walk you through how you should be prepared before you begin the setup.
Important Things to Know Before Setting Up Cricut Maker 3
Good preparation before doing any major task is a boon for all. The same goes for the Cricut users. If you are a beginner and want to set up your all-new crafting machine, you need to take certain things into consideration. Here is what you should know before setting up your machine:
- Whatever device you use—computer, tablet, or smartphone—it should meet the minimum requirements for Design Space software. It is a user-friendly software that you can use with various cutting machines, including Maker 3. This is where all the projects start. It’s the space where you bring your creative ideas to life. Think of Design Space as a virtual sketchbook or a crafting kitchen where you do all the planning, tweaking, and perfecting everything before cutting.
- Check whether the power outlet is accessible. Keep the cable handy if you plan to use a USB connection. Also, if you want to connect via Bluetooth, make sure that your device’s Bluetooth is toggled on and functional for wireless setup.
- There should be enough space in the front and back of the Maker 3 machine. You should also ensure your surface is flat, clutter-free, and near an outlet. Do not place the machine on uneven or soft surfaces like tables that wobble or have soft coverings (tablecloths or pads). This may impact the cutting accuracy.
- A very important consideration before setting up Maker 3 is checking your internet connection. Design Space is cloud-based, so you must have a steady internet connection to download the application and access Cricut projects and files online.
- Good lighting in your workspace is essential for clear visibility and accurate crafting. Many may overlook this small detail during the setup or when using the Cricut. A well-lit space gives clear visibility when positioning materials or installing tools.
The Process for Cricut Maker 3 Setup
After you unwrap all the plastic and take the machine out of the box, you need to start with the setup. The “how to set up Cricut Maker 3” process is quite simple, and here are the steps to follow:
Downloading Design Space
Step 1: Turn on your computer.
Step 2: Open your browser and go to the official Cricut site: design.cricut.com. From here, you need to download Design Space.
Step 3: Now, you must tick the “I agree to Cricut Terms & Conditions” box. Click on Download.
Step 4: On the next page, you need to click the green Product Setup button.
Step 5: In the Welcome to Cricut Setup window, choose "Smart Cutting Machine.”
Step 6: Next, you need to choose Cricut Maker.
Step 7: You’ll be redirected to the “Create Cricut ID” page.
Step 8: Fill in your details to create a Cricut ID.
Note: Click the Sign in button if you already have a Cricut account.
Step 9: Once you have filled in all the information, click "Create a Cricut ID.”
Step 10: Click "Accept” on the Updated Policies pop-up window.
Step 11: Follow the on-screen prompts on the Prepare Workspace page.
Connecting Cricut to Computer
Step 1: Plug in the cord and press the power button on your crafting machine.
Step 2: Connect your machine and the computer using a USB cable.
Step 3: Go to the computer display and click “Continue.”
Step 4: Now, on the Updating page, click the “Update” button.
Step 5: Once you finish the update, click “Next.”
Step 6: After that, the Register Machine page will show up.
Step 7: Check the “I agree to Cricut Terms of Use and Privacy Policy” box.
Step 8: Click the “Register” button.
Step 9: After you have successfully registered, click the Next button.
Step 10: On the Let’s Test a Cut page, test a cut or click on “Skip.”
Steps to Set Up a Cricut Maker 3 With Bluetooth
The Maker 3 has a built-in Bluetooth feature, offering users the convenience of a wireless connection between their device and the cutting machine. This means you can position the machine wherever it’s most convenient, freeing up your workspace from unnecessary clutter and enhancing your experience.
Step 1: Connect the machine to your computer using the USB cable.
Step 2: On your PC, click on the Start menu button, search, and click the Settings icon.
Step 3: Now, select Devices and toggle on the Bluetooth button. A list of the available Bluetooth devices.
Step 4: If your system doesn’t appear in the given list, click the “Add Bluetooth or other device” option.
Step 5: Click on “Bluetooth,” and your machine’s name will appear on the given list.
Step 6: Select your Cricut model and enter the PIN (0000).
Step 7: After that, you must click on the Connect button.
Step 8: Once you are through, a “Your Device Is Ready To Go!" screen will appear. Click on the “Done” button on that screen.
Frequently Asked Questions
Q: What Materials Can I Use With Cricut Maker 3?
Cricut Maker 3 cuts over 300 various materials, ranging from cardstock to adhesive foil, aluminum foil, and balsa wood. It can also cut adhesive sheets and many types of paper without cutting mats when you use Smart Materials (smart vinyl, smart iron-on, and smart paper sticker cardstock).
Q: Do I Need to Update Firmware When Setting up Cricut Maker 3?
During the setup process, you’ll see a prompt to update the Maker 3’s firmware. Since this is an important step, you must ensure your internet does not disconnect when you reach here. Any interruption or connection error can result in a delay, or you may need to restart the whole process.
Q: Is Cricut Maker 3 Compatible with iOS?
Yes, this Maker 3 is compatible with iOS devices, such as MacBooks, iPads, and iPhones, provided they meet the minimum system requirements for Design Space. You can download Design Space directly from cricut.com/setup and install it on your iOS device. You must check that your device meets the minimum system requirements. After the installation, you can connect your machine via USB or Bluetooth and start crafting seamlessly from your Mac.
Source: How to Set Up Cricut Maker 3
Related Posts
© 2025 Invastor. All Rights Reserved
User Comments