
Ai Content Generator
Ai Picture
Tell Your Story


Trezor.io/start (Official) | Congrats on your new Trezor Model One
Introduction to Trezor.io/Start
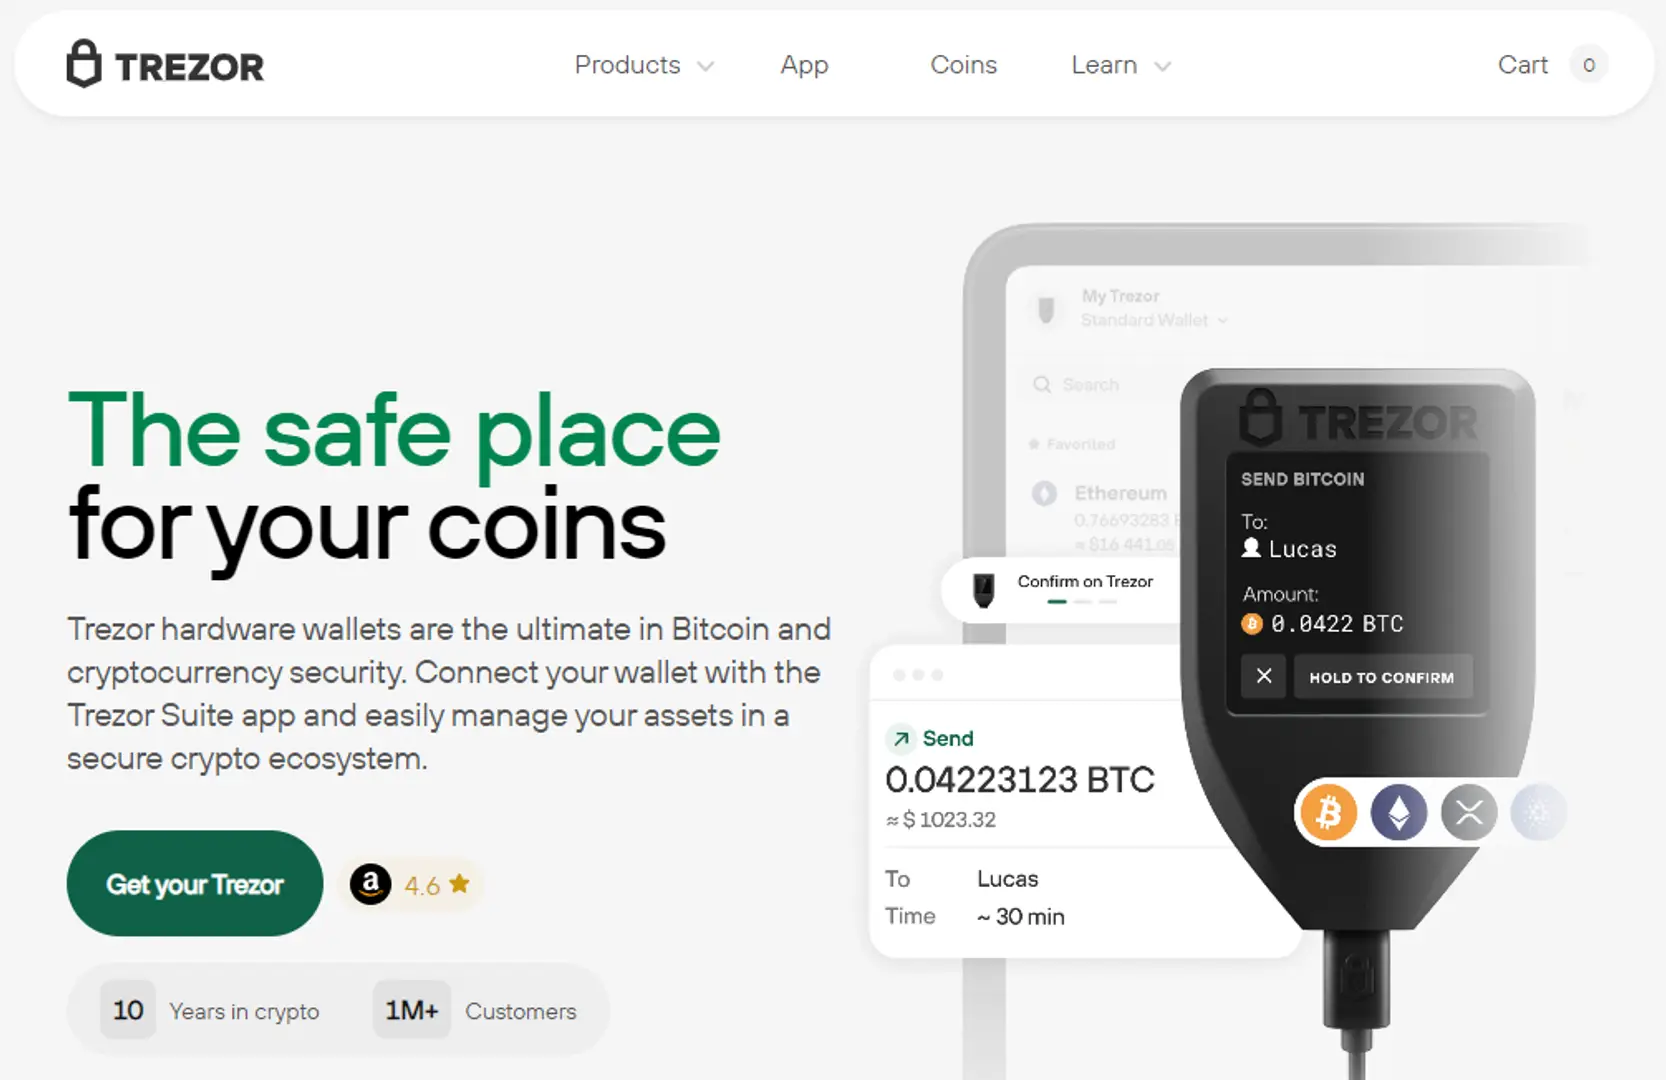
If you have just purchased a Trezor hardware wallet, the next crucial step is setting it up securely. Trezor.io/Start is the official onboarding page that provides a step-by-step guide to initializing your Trezor device, securing your assets, and managing your cryptocurrency safely. This guide will walk you through the process, ensuring you set up your wallet correctly.
Why Use Trezor Wallet?
Trezor is one of the most trusted hardware wallets in the crypto industry, offering top-notch security for storing cryptocurrencies. Here’s why Trezor stands out:
Enhanced Security: Keeps your private keys offline, protecting them from online threats.
User-Friendly Interface: Simple and easy-to-use, even for beginners.
Multi-Currency Support: Compatible with Bitcoin, Ethereum, and numerous other cryptocurrencies.
Backup and Recovery: Provides a recovery seed to restore your assets if needed.
Step-by-Step Guide to Setting Up Your Trezor Wallet
Follow these simple steps to set up your Trezor wallet securely via Trezor.io/Start:
- Unbox Your Trezor Device
Before setting up, ensure your package is sealed and untampered. Inside the box, you’ll find:
Trezor hardware wallet
USB cable
Recovery seed cards
Instruction manual
- Connect to Trezor.io/Start
Using your preferred browser, visit Trezor.io/Start and follow the instructions. Ensure you download and install Trezor Suite, the official software for managing your crypto assets.
- Install the Latest Firmware
Upon connecting your device, Trezor Suite will prompt you to install the latest firmware. This ensures your device is updated with the latest security patches.
- Create and Secure Your Wallet
After installing the firmware:
Choose to create a new wallet or recover an existing one.
Secure your wallet by writing down the recovery seed phrase (never store it digitally).
Confirm the seed phrase to complete the backup process.
- Set Up a PIN Code
Enhance security by setting up a PIN code to prevent unauthorized access. Choose a strong PIN and avoid sharing it with anyone.
- Start Managing Your Crypto Assets
Once your wallet is set up, you can now:
Send and receive cryptocurrencies securely.
Monitor your portfolio through Trezor Suite.
Connect your wallet to third-party applications if needed.
Common Issues & Troubleshooting on Trezor.io/Start
While setting up, you may encounter minor issues. Here are some quick fixes:
Device Not Recognized: Try using a different USB cable or port.
Firmware Update Stuck: Restart the device and retry the update.
Recovery Phrase Issues: Ensure you enter the words in the correct sequence.
Conclusion
Setting up your Trezor wallet via Trezor.io/Start is a straightforward process that enhances the security of your digital assets. By following the steps outlined above, you can ensure your funds remain safe from cyber threats. Start your journey to secure crypto storage today by visiting Trezor.io/Start!
For further support, check out the official Trezor Support Center or community forums.
Related Posts
© 2025 Invastor. All Rights Reserved
User Comments